...
- Open the User Groups, Host Groups, or License Server Groups tab, depending on the type of group you want to create.
- At the bottom of the Groups table, click Add New.
- In the General tab of the Create Group dialog that appears, enter the group name and, if desired, a description.
- Click Next to continue to the Users/Hosts/License Servers tab, where you select group members.
This tab contains two tables: the "not in group" table on the left lists all members that are not included in the group (which will be all members, initially), and the "in group" table on the right lists all members included in the group, as shown below.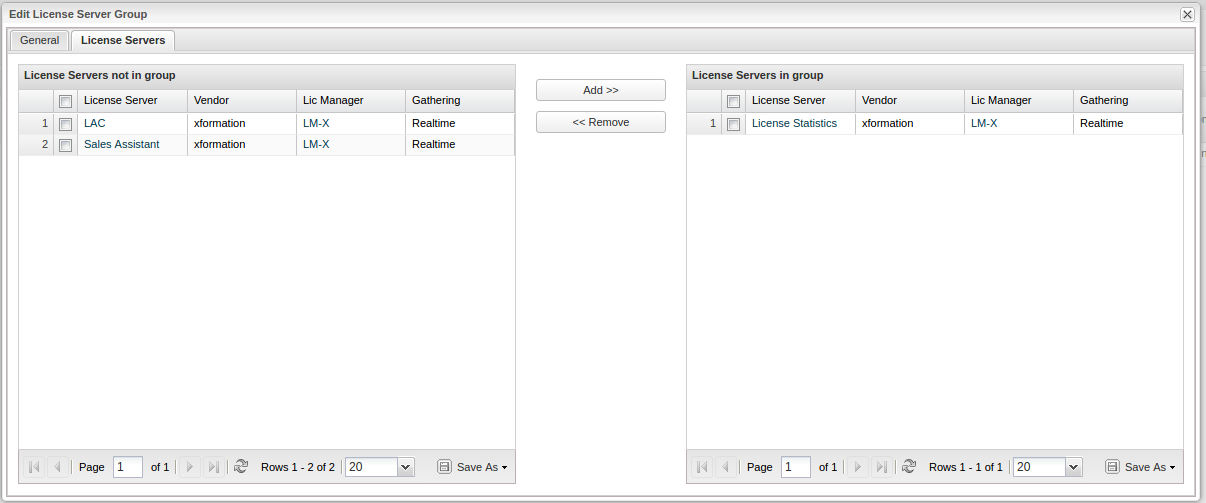
- In the "not in group" table on the left, check the box next to the users/hosts/license servers you want to add to the group. You can select as many users/hosts/license servers as needed. (To select all users/hosts/license servers, click in the checkbox in the header row, above the individual user/host/license server entries.)
For license server groups, the selected members must have the same vendor and gathering type (Realtime or Imported). For FlexNet, vendors with the same daemon are treated as having the same vendor, so they can be grouped. (See FlexNet vendor daemons for a list of daemons and the vendors they serve licenses for.) - Click Add to add the members to the group. The members are moved to the "in group" table on the right. You can also drag and drop the user/host/server of your choice from the table on the left to the table on the right.
- To remove members from the group, select members from the "in group" table on the right in the same way as described above, and click Remove. The removed group members are listed again in the "not in group" table on the left.
- After you have added all members to the group, click Save to save the group and close the dialog.
...