...
- Select the LDAP tab from the Administration page. (This page is visible only for License Statistics administrator users.)
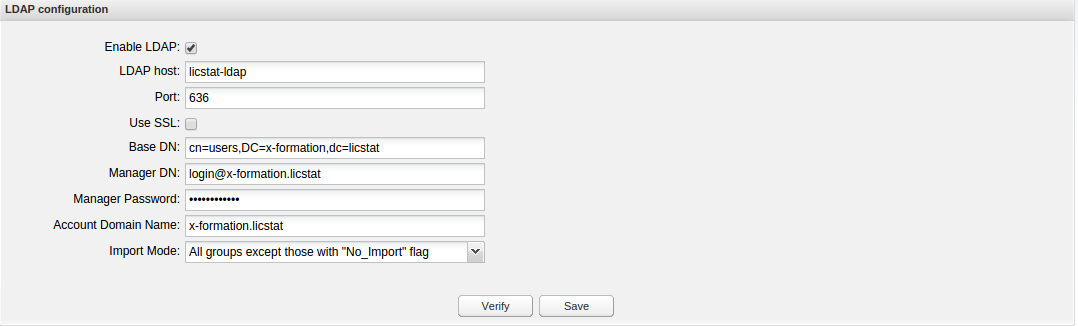
- Toggle on Enable LDAP to allow the connection to the LDAP server. (You can toggle this box off if you want to suspend the LDAP connection at any time.)
- Enter the appropriate information for connecting to your LDAP server. An example setup is shown in the screenshot below. Also see the following section, LDAP settings, for more information.
- LDAP Host: The hostname of the LDAP server.
- Port: The port for the LDAP server. The default is 389.
- Use SSL: Check this box if you would like to connect to your LDAP server over SSL protocol.
- Base DN: The base DN (Distinguished Name) under which to search for users. (See LDAP settings, below, for more information on obtaining the base DN.)
- Manager DN: The DN for the manager account to be used for initial binding (authentication).
- Manager Password: The password for the manager account.
- Account Domain Name: The sub-domain of the LDAP directory.
- Import Mode: The mode you specify to be able to import user groups you have defined in an LDAP directory.
- Save your settings.
- Enter a valid username and password in the Test connection area and click Verify to ensure that your connection to the LDAP server works as expected. A message will indicate whether the test was successful. If the test is not successful, make the needed changes to the setup, save the changes, and retest the connection.

Enabling LDAP over SSL
...