...
- To edit an existing license server, click the Edit icon in the Action column of the License Servers grid row for the license server you want to change. An Edit License Server dialog opens to allow you to change the existing settings for that license server.
or
To add a new license server, click Add at the bottom of the License Servers grid. An Add New License Server dialog opens to allow you to configure the new license server. - The dialog will contain tabs for General information and for each data source that is applicable to the license server type (Remote Monitoring, Importing, and/or End User Monitoring). Complete the information in the Add New/Edit License Server dialog as described below in "License Server settings."
Remote Monitoring allows verifying the license server configuration manually.Anchor remote_monitoring remote_monitoring
If you would like to verify the configuration, click Verify at the bottom of the Remote Monitoring tab. (This step is not necessary; the configuration will automatically be verified when you save the license server, as described in the next step.)
Verification may take a long time depending on the license manager’s response time, and the status will show that the server is being verified. The verification results will include the status (success or failure), the reason for the failure if verification failed, and the query tool output. The output should look similar to the following.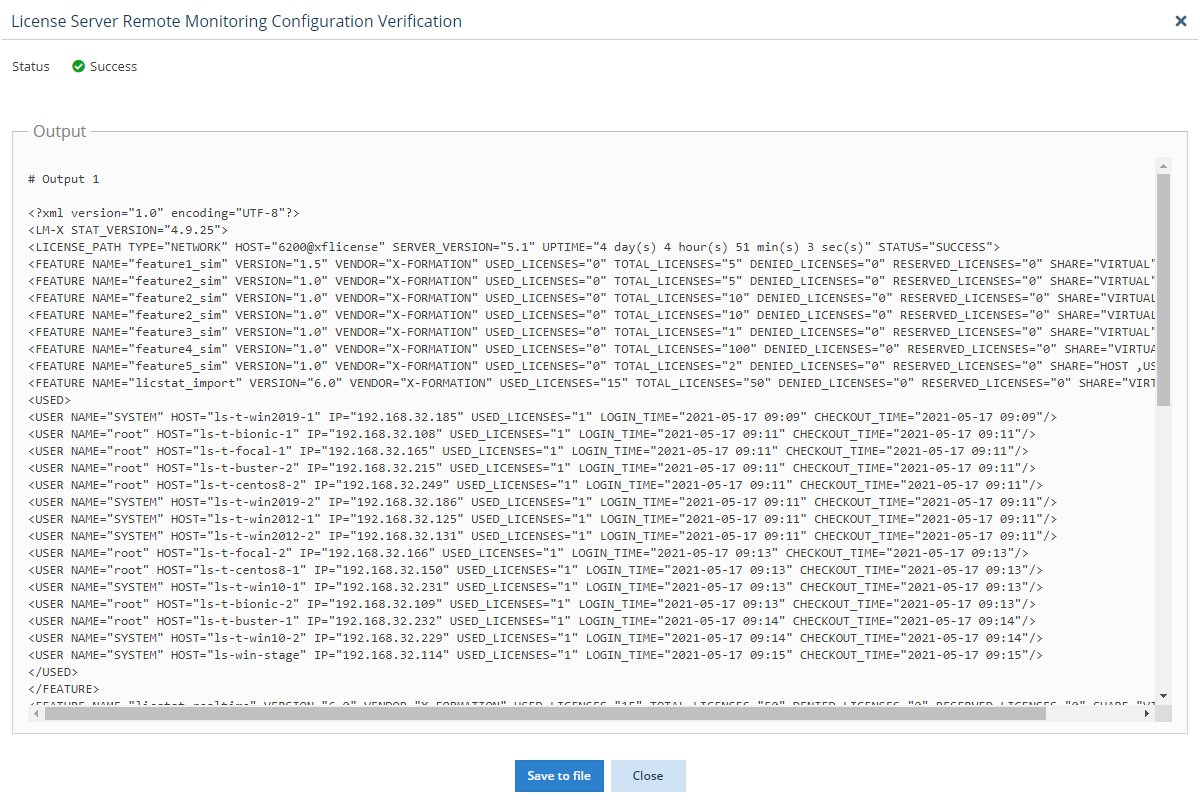
You
When the verification is complete, you can use Save to File to export and save the data to a file if desired; for example, X-Formation Support may request this file for troubleshooting.- After completing all settings as needed, click Save or Save and Close to save the license server. You can click Close at any time if you do not wish to save your changes.
...