You install the The LM-X SDK using an installation program (for both Windows and Unix), which will let you automatically:
- Install and compile the SDK
- Obtain the license file, copy it to the proper directory, and activate the license
- Copy the security_config file from a previous LM-X installation to the proper directory
- Navigate to the installation directory and execute the makefile
The installer places the LM-X license file (lmx.lic) in the config directory. The license file contains the software expiration date (after which xmllicgen will not generate new licenses) and the platforms on which you can compile and run LM-X. The installer will activate the LM-X license for you, or you can activate it manually as described in our Knowledgebase article, Activating licenses using License Activation Center.
Upon first compilation of the LM-X SDK, the LM-X security configuration file (security_config.lmx) is automatically created in the config directory. This file holds various security-related parameters, and is used to create license files and embed the security configuration into the license server and client libraries.
...
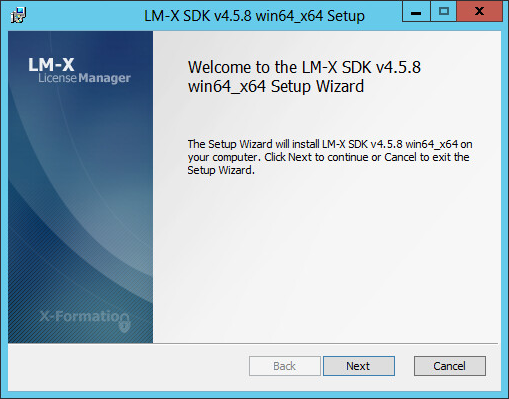
License Manager installation wizard guides you through the installation procedure, so you can be up and running on a Windows machine in 5 minutes or less.
To install LM-X on a Windows machine:
Step 1. Start the installation wizard.
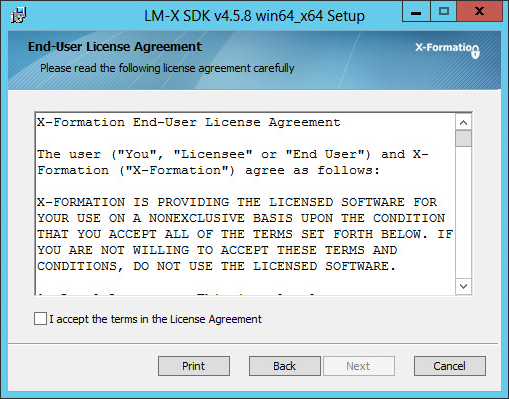
Step 2. Accept the X-Formation End User License Agreement.
Step 3. Choose whether to use an existing LM-X security configuration file.
Note the following:
- If you are installing LM-X for the first time: Choose the first option.
- If you are upgrading LM-X to a newer version or compiling LM-X on multiple platforms
...
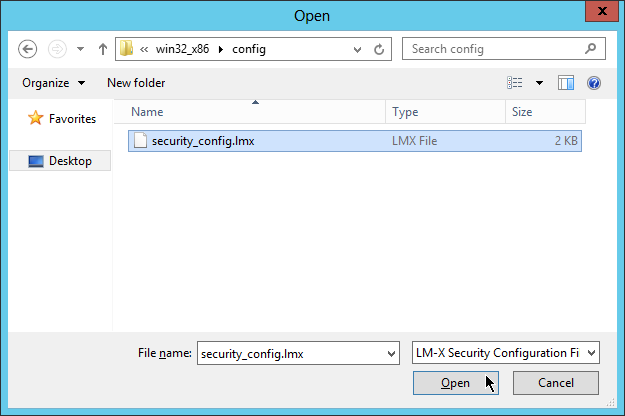
- : Choose an existing LM-X security configuration file.
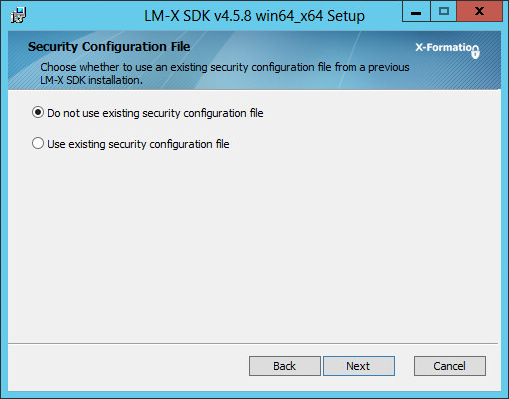
If you do not choose have chosen the second option above, use an existing security configuration file while running the installer, you must manually place the file in the config directory after installing the SDK.
Compiling the LM-X SDK manually
If needed (for example, if you are extending the functionality of LM-X), you can recompile the LM-X SDK manually after initial installation.
Before recompiling the LM-X SDK, put your compiled source code in the ./platform/vendor directory (where platform is the platform-specific directory as listed in the table below). Placing the source code in this directory will allow you to compile without requiring any modifications to the SDK.
To compile the SDK, execute the makefile from the root directory of the LM-X distribution:
On Windows, type: nmake (for example, C:\lm-x_distrib> nmake). Alternatively, you can use Visual Studio solutions lmx_vs2008.sln, lmx_vs2010.sln, or lmx_vs2012.sln.
On Unix, type: make (using GNU make; for example, /home/user1/lm-x_distrib$ make).
Alternatively, you can compile a clean SDK (for example, when rebuilding the SDK with a different license or security key) using the following command:
On Windows, type: nmake clean
On Unix, type: gmake clean
Notes:
- For Windows 64-bit builds, be sure to set the environment properly, for example by running the following command:
C:\Program Files (x86)\Microsoft Visual Studio 10.0\VC\vcvarsall x86_amd64
- If you have multiple platforms, see Building LM-X for multiple platforms, below. If you have any problems compiling the LM-X SDK, see Troubleshooting, below.
Directory Structure
After you've compiled the platform-specific files, your LM-X directory structure should look similar to the following:
Directory | Contents |
/include.mk | File defining which platform to compile examples for. |
/config | Security configuration file. |
/include | Shared header files across all platforms. |
Platform-specific directories, such as: | Platform-specific files. |
Note: If you want to compile the examples for a particular platform, you must change \include.mk, where the variable PLATFORM specifies which platform the examples are compiled for.
Mixing files works only between identical versions of LM-X; for example, v4.2 files are not compatible with v4.3 files. You can verify the same version is being used by checking the version.txt file.
Building LM-X for multiple platforms
To build LM-X for multiple platforms:
- Install one of the distributions, and make sure the security configuration file is in place.
- Copy or move the platform-specific directory (for example, win32_x86 or solaris_sparc) to the root directory of LM-X. (Only platform-specific files are stored in the platform-specific directory. All shared files exist in the include directory, which is also located in the LM-X root directory.)
- From the platform-specific directory, compile the platform-specific files.
- On Windows, type: nmake (for example, C:\lm-x_distrib\win32_x86> nmake). Alternatively, you can use Visual Studio solutions lmx_vs2008.sln, lmx_vs2010.sln, or lmx_vs2012.sln.
- On Unix, type: make (using GNU make).
Troubleshooting
If you experience any installation problems, try the following troubleshooting steps.
...
_config.lmx file from a previous LM-X installation, as shown below.
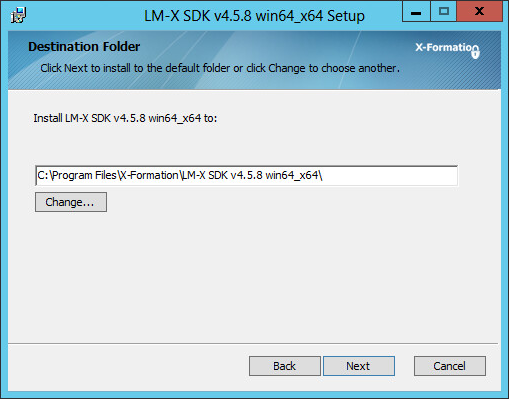
Step 4. Choose the proper installation directory and click Next.
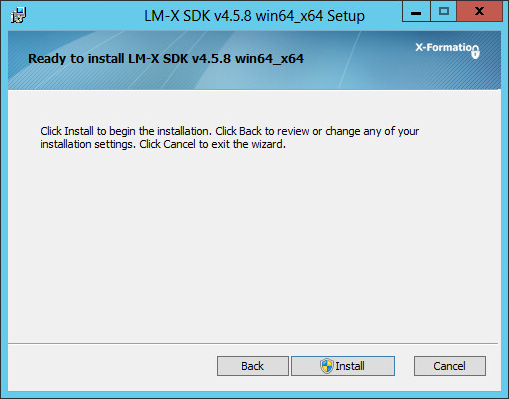
Step 5. Click Install to begin the installation.
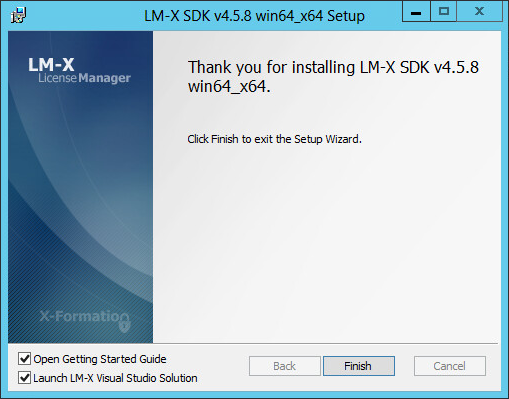
Step 6. Click Finish to finish the installation.
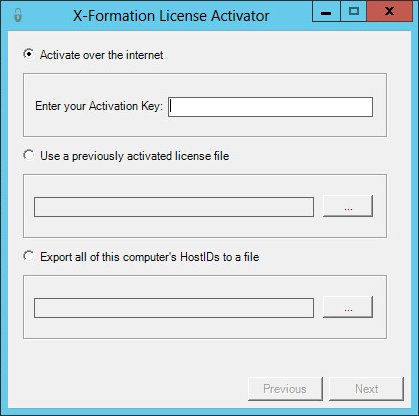
Step 7. Activate the license.
Note the following:
- If you are installing LM-X for the first time: Enter your Activation Key (sent to you via email).
- If you are upgrading LM-X: Select the option to browse for and select a previously activated license file.