...
The information on this page refers to License Statistics v6.18 19 and newer, which made executable names case-insensitive added License Harvesting configuration settings to the Custom Applications grid. If you are using a version previous to v6.18, see documentation for previous versions. |
Requirements for setting up Custom Applications
...
- Select Custom Applications under the Administration section in the left pane.
- Click Add. The Add Custom Application form opens.
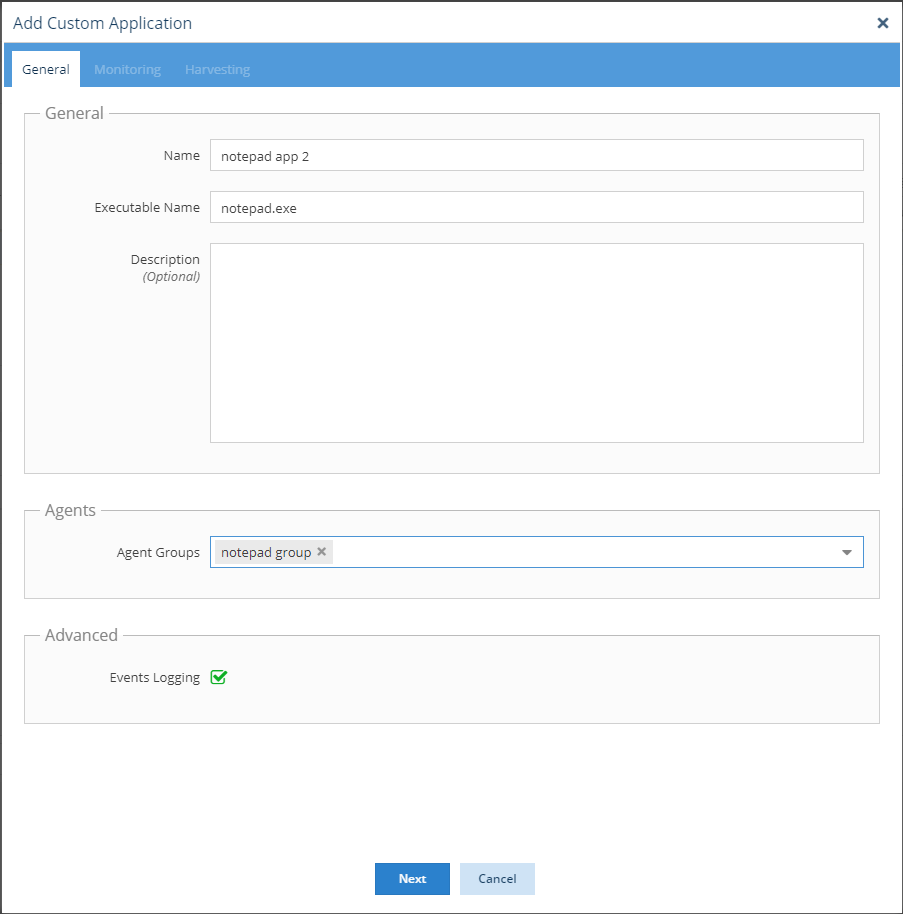
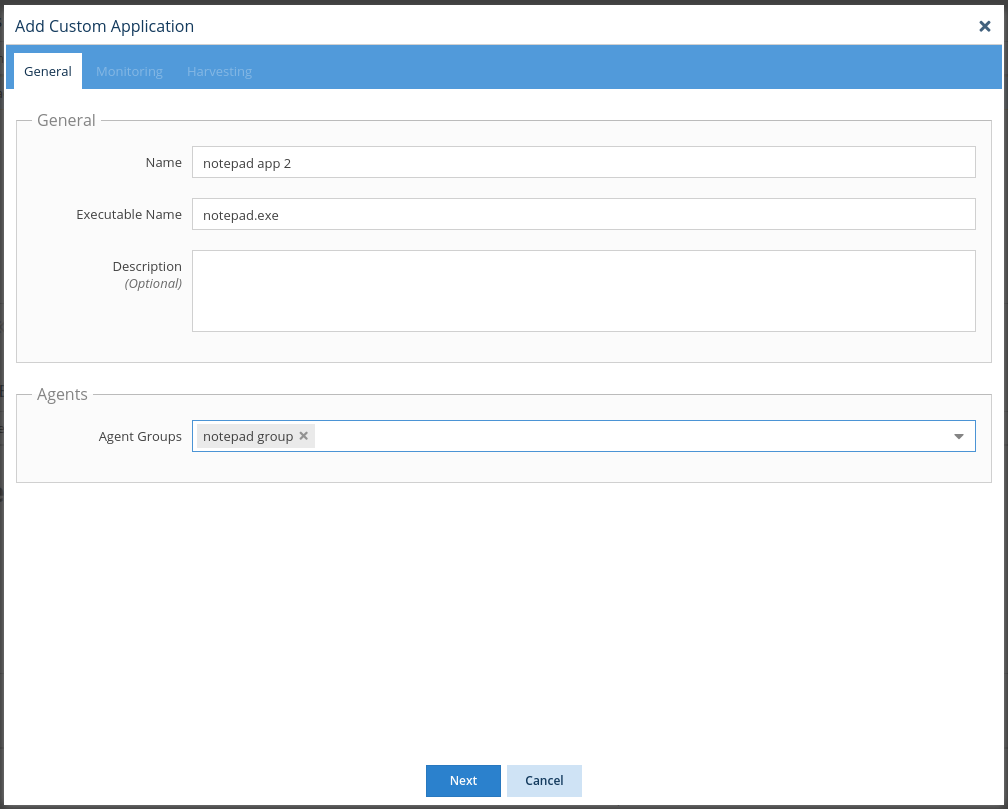
- Fill in the Name and Executable Name fields. (See How the executable name is used for additional information regarding how executable names are used for Custom Application monitoring.)
- Select which Agent groups will be monitoring the application
Or
Create a new Agent group on the fly by typing the desired name in the Agent Groups drop-down list area and then clicking on the name. (The group name is denoted with "(Create new)" when the name you type does not already exist.) - Click Next to proceed to the Monitoring tab.
- Toggle on Enable Monitoring. (If Enable Monitoring is not toggled on, the rest of the tab will be blank.)
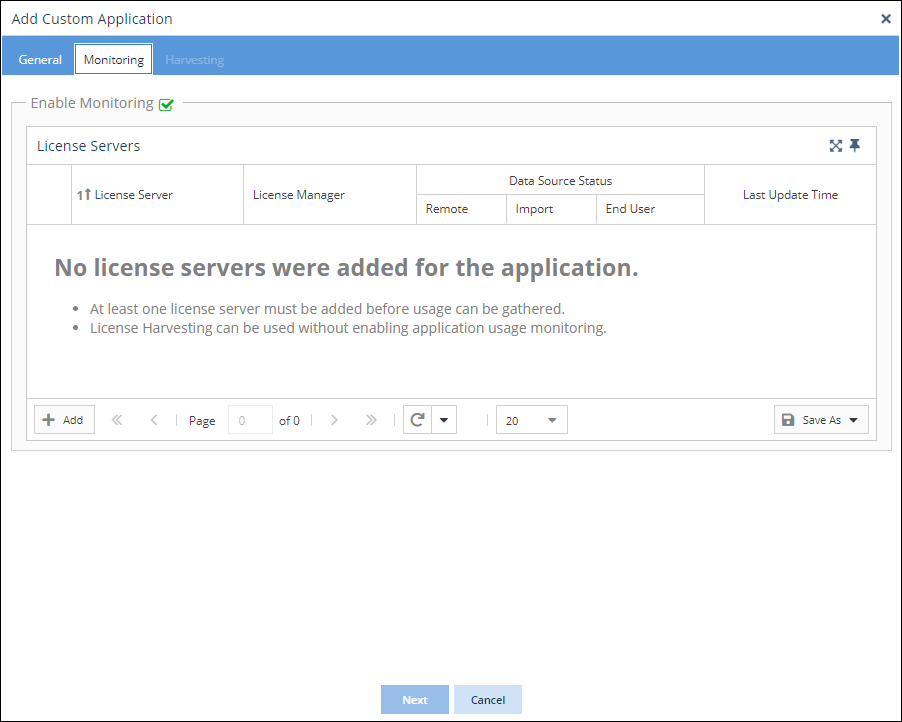
- Click the Add button in the lower left of the License Servers grid.
- Fill in the form to add the new license server that will be used by the Custom Application. (Note: The License Manager Type is automatically set to "Custom Application" and cannot be changed.)
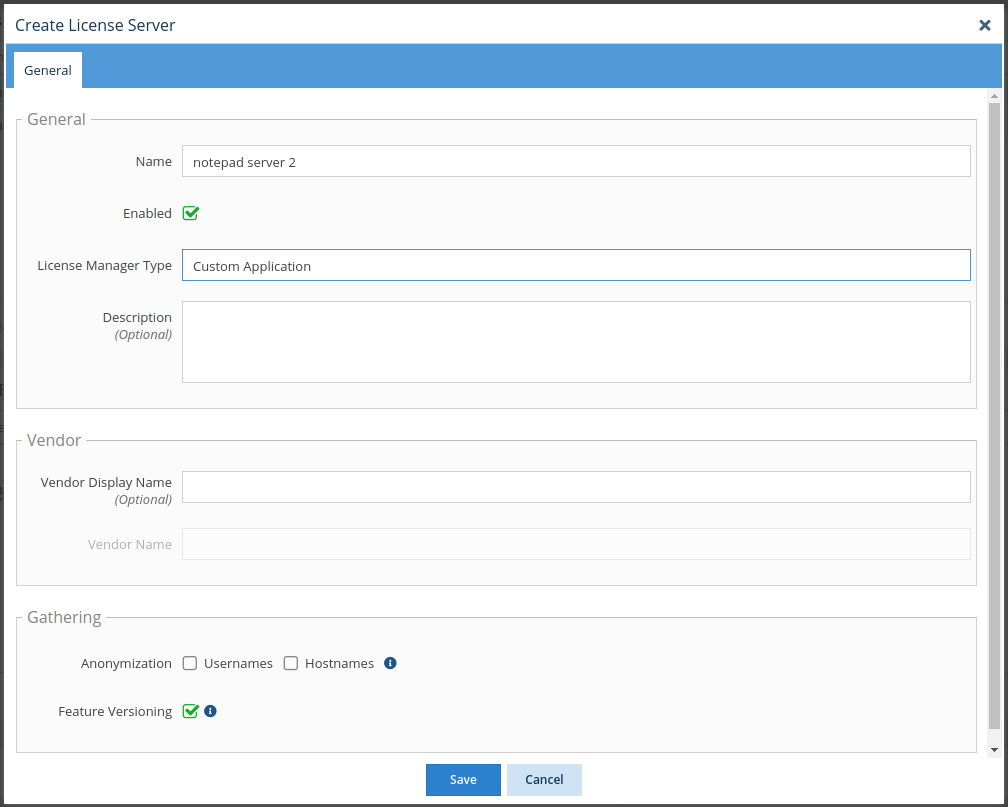
- Click Save to save the new Custom Application license server. You will see that the license server has been added to the License Servers grid in the Monitoring tab.
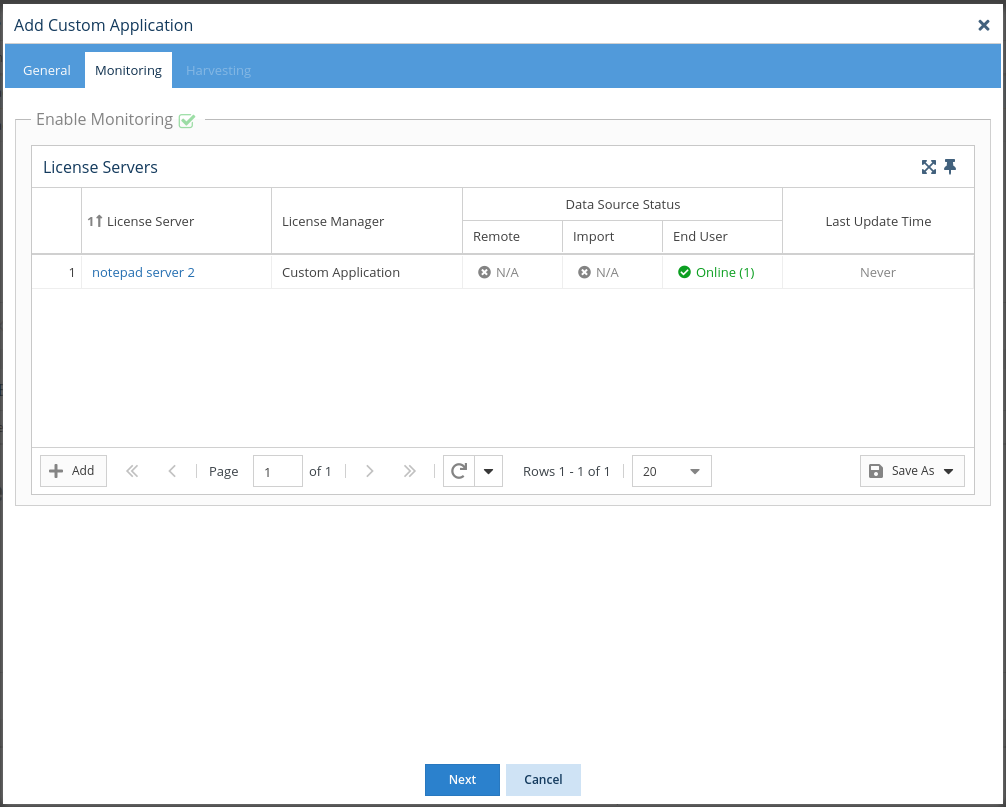
- Click Next to proceed to the License Harvesting tab, and optionally, set up set up License Harvesting for the application.
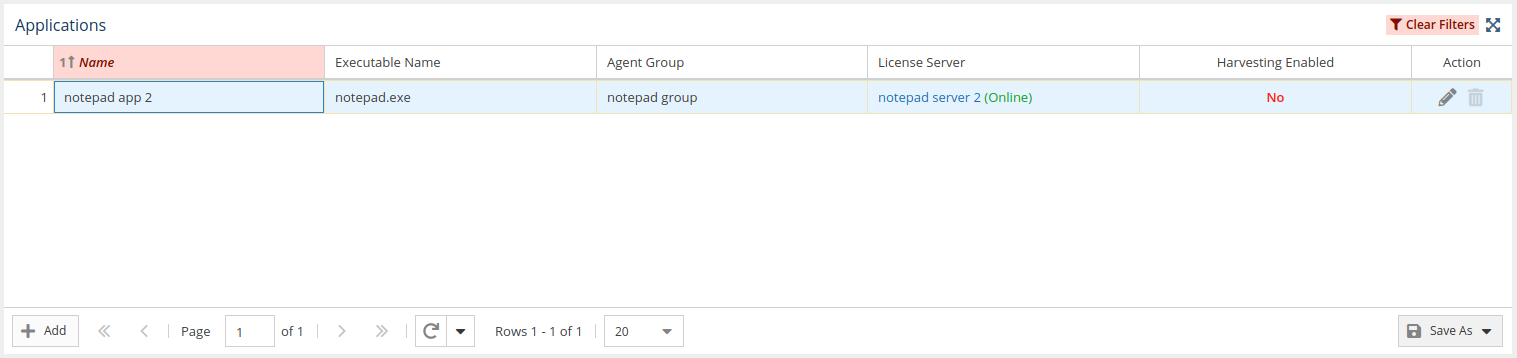
- Click Save to save the configuration and return to the Applications page. You will see that the new application has been created and is included in the Applications grid.
...