...
Note: By default, when you install the SDK, Visual Studio opens to let you compile the SDK. We recommend that you use the project files and use the Build, Clean and Rebuild UI actions within the IDE to compile and recompile the SDK. Alternatively, you can compile the SDK from a command line using nmake, as described below.
Compiling the LM-X SDK from Visual Studio
Step 1. Copy your LM-X-SDK lmx.lic file to the config directory.
Note: If you are upgrading LM-X, remember about copying your LM-X security configuration file from a previous LM-X installation to the config directory. (In LM-X SDK versions older than 4.2, security_config.lmx file was named after your vendorname.lmx.)
Step 2. Run Visual Studio.
To run Visual Studio, either:
...
Note: Make sure the config directory includes the license file.
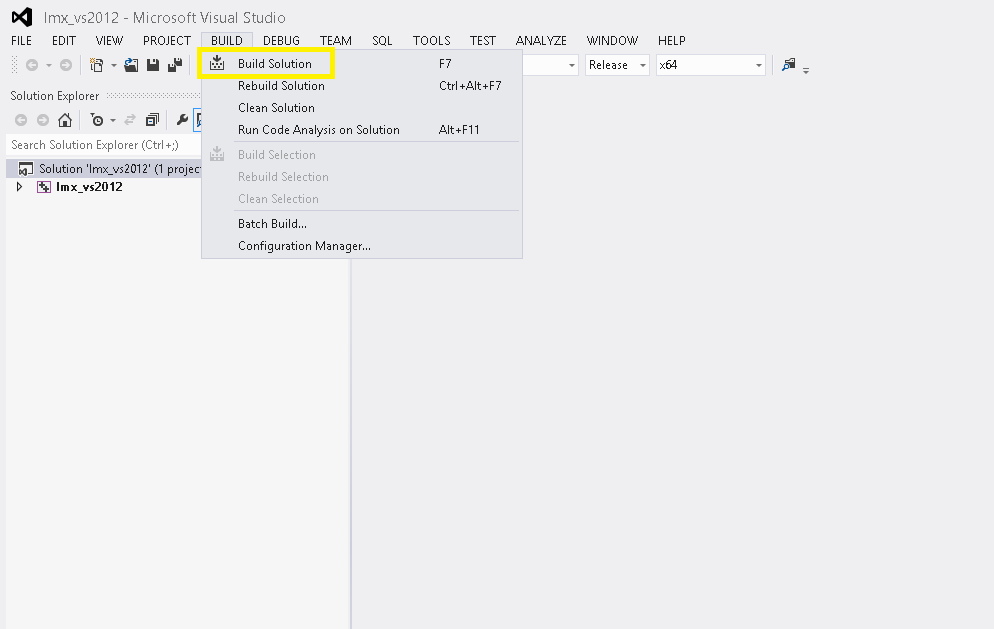
Step 3. Click Build tab and from the list of options that appears, select "Build Solution".
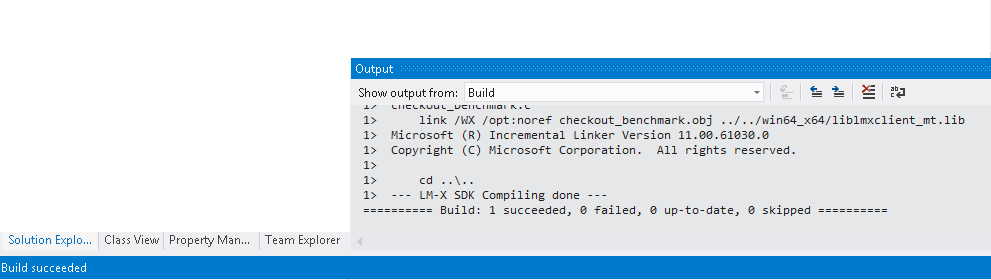
When the compilation is successfully completed, you will see a "Build succeeded" message on the Visual Studio status bar, as shown below.
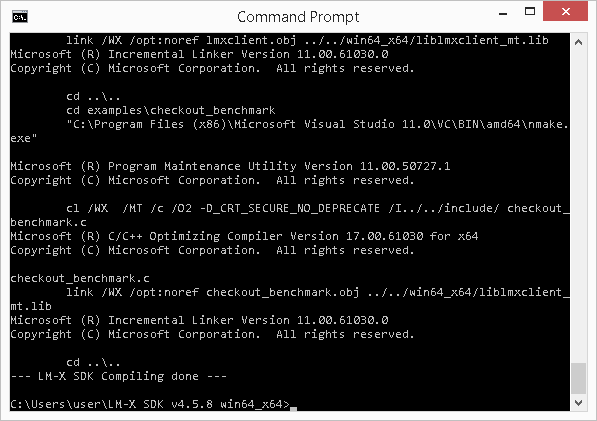
Compiling the LM-X SDK from a command line
To compile the LM-X SDK from a command line:
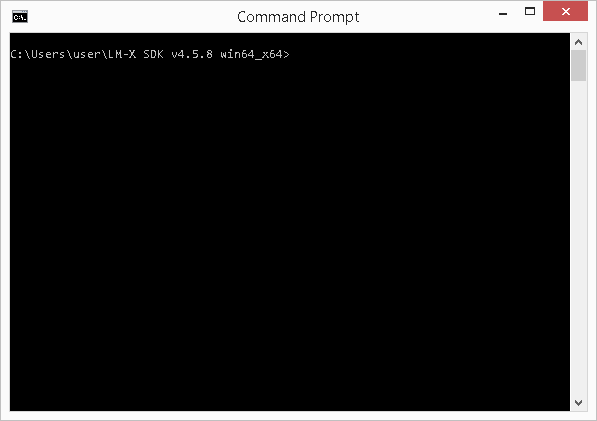
Step 1. Run cmd.exe.
Step 2. Set the environment variable.
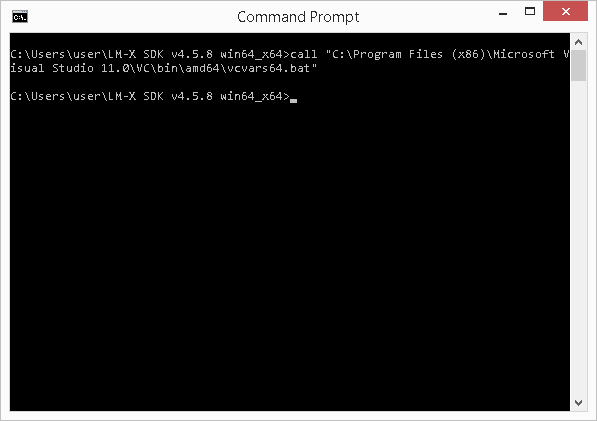
The following are examples of environment variables:
...
| Panel |
|---|
C:\Users\user\LM-X SDK v4.5.8 win64_x64> call %PROGRAM_FILES%\Microsoft Visual Studio 12.0\VC\bin\amd64\vcvars64.bat |
Step 3. From the root directory of the LM-X distribution, run nmake.
Cleaning the LM-X SDK
| Panel |
|---|
C:\Users\user\LM-X SDK v4.5.8 win64_x64> nmake clean |
...