The information on this page refers to License Statistics v6.11 and newer, which redesigned license server administration and removed "gathering type." If you are using a version previous to v6.11, see documentation for previous versions. |
To create and manage License Statistics user, host, license server and Agent groups, use the User Groups, Host Groups, License Server Groups and Agent Groups tabs in the Groups page, found under the Administration section of the left navigation pane. (The Groups page is visible only for License Statistics administrator users.)
The method for creating and editing groups is the same for all group types. Our example that follows illustrates creating a user group.
To create a new group and add/remove group members:
- Open the Groups page under the Administration section of the left navigation pane.
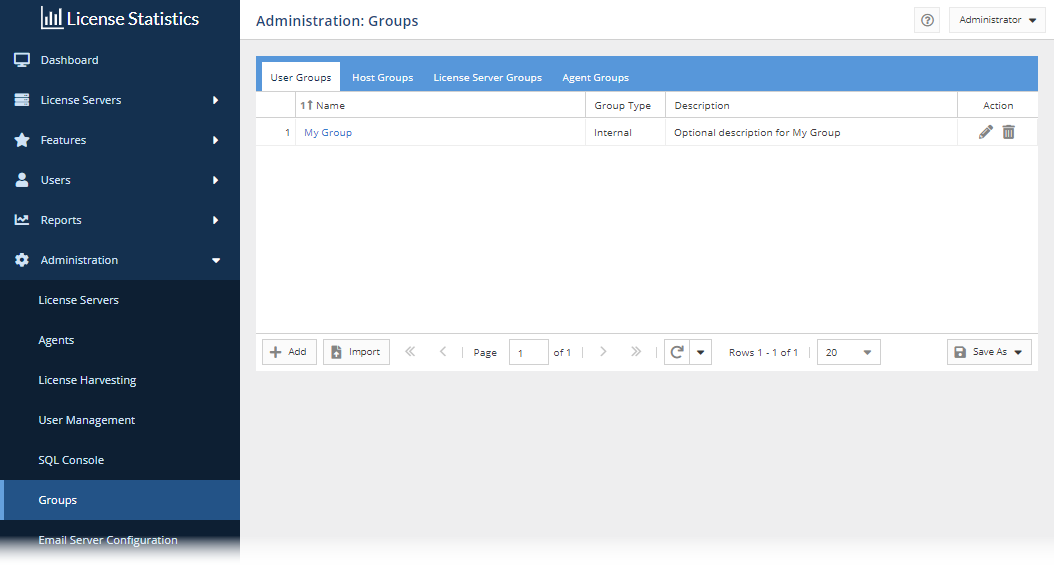
- Select the User Groups, Host Groups, License Server Groups or Agent Groups tab, depending on the type of group you want to create.
- Click the Add button at the bottom of the grid.
- In the General tab of the Create Group page, complete the Name field (required) and Description field (optional) for the new group.
- If you are adding an Agent group: Check the Auto Assign toggle to automatically assign all new Agents to the group. This toggle is selected by default.
- Click Next to continue to the Users/Hosts/License Servers/Agents tab, where you select group members. (The Next button is disabled until you have filled in the required Name field.)
This tab contains two tables: the "Users not in group" table on the left lists all members that are not included in the group (which will be all members, initially), and the "Users in group" table on the right lists all members included in the group, as shown below. (Note that the tables may be stacked vertically instead of horizontally if your display is narrow, in which case the "not in group" table will be on the top and the "in group" table will be on the bottom of the display.)
- In the "Not In Group" grid, check the box next to the users/hosts/license servers/agents you want to add to the group. You can select as many users/hosts/license servers/agents as needed. (To select all rows, click in the checkbox in the header row, above the individual user/host/license server/agent entries.)
For license server groups: The selected members must have the same vendor. For FlexNet, vendors with the same daemon are treated as having the same vendor, so they can be grouped. (See Vendor aliases for a list of daemons and the vendors they serve licenses for.) - Click the Add >> button located between the grids to add the members to the group. The members are moved to the "In Group" grid.
As an alternative to using the Add button, you can drag and drop items from the "Not In Group" grid to the "In Group" grid. If you have checked multiple items, all checked items will be added to the group. - To remove members from the group, select members from the "In Group" grid in the same way as described above, and click Remove (or drag and drop the items from the "In Group" grid to the "Not In Group" grid).
- After you have added all members to the group, click Save to save the group and close the dialog. You return to the Administration: Groups page, where your new group is now listed in the Groups grid.
Note that:
- The user/host/license server/agent can be added to as many other groups as desired.
- For license server groups, if a user hides individual license servers that are included in a group, the group will still be visible.
- For user groups, LDAP information is given but is not editable.
- For license server groups, the server you want to drag to the table on the right must have the same vendor as the servers in the "in group" table.
- Your selections are saved as preferences for the next time you log into License Statistics using the same login.
To edit a group:
- Select the desired group from the User/Host/License Server Group drop-down list.
- Click Edit.
- Make the desired changes to the group name and/or description, and click Submit to accept the changes.
To delete a group:
- Select the desired group from the User/Host/License Server Group drop-down list.
- Click Remove.